Well hey, 2019!! The New Year is looking good on you guys, I must say. In lieu of ‘resolutions,’ I have set a few house-related goals for myself this year. I have always been very obsessed with furniture hacks and DIY things [as seen HERE and HERE], and since buying our house, my love for them has grown even more. It’s pretty awesome that you can take something old you already own, or something ugly you bought for super cheap, and make it into a one of a kind piece that you can be proud of!
Weirdly, the entryway was one of the first things in our new house that I was most excited about decorating. I think it was because I had lived in small apartments for so long where you walked in and were automatically in the kitchen. It was exciting
Patience is not my strong suit, so in true ‘me’ fashion, I ordered the first entryway table I liked that was decently priced, which ended up being way too small for my space. That’s another thing you learn after you buy a house –
BEFORE:
WHAT YOU’LL NEED:
- Base table: mine is the Harvester Console Table from Target (sold out – similar one HERE )
- Untreated lumber, size 2 x 10 x 12 – Qty: 2, cut in half – makes 4 pieces
- Liquid Nails
- Gloves
- A dropcloth
- Sandpaper Block
- Wood Stain – I used Miniwax in ‘Special Walnut’
- Lint-free Cloth
- Paintbrush
- Chalk Paint – I used Rustoleum Chalked in ‘Linen White’
HOW TO:
Step 1: Sand each of the new boards using the sandpaper block. Wipe down and remove excess dust with a lint-free cloth. Use a dry paintbrush to get any remaining dust out of the cracks.
Step 2: To create the table base, glue two of the 2 x 10 x 6 boards together along the middle seam using the liquid nails. Repeat with the second pair for the top of the table. Allow
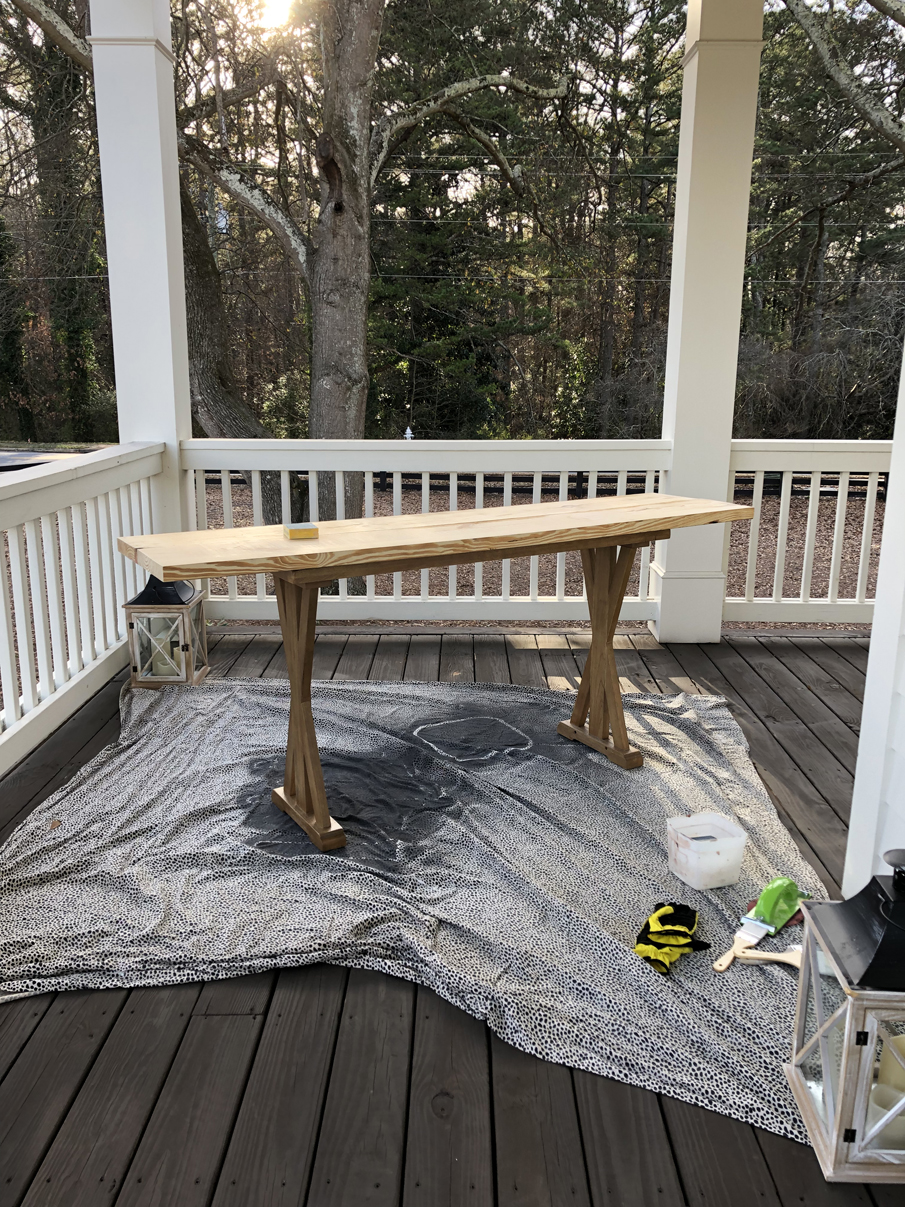
Step 3: Center your existing table on top of one set of boards, glue it down with liquid nails. Glue the second set of attached boards to the top of your existing table. Allow

[Tip: I glued my pieces together before staining the wood because I read that the stain can actually cause the adhesive not to stick as well as it should.]
Step 4: Using a clean rag, dip into


Step 5: Using a dry brush, go with the grain and apply chalk paint to the entire table, not worrying about evenness. You want some of the stain to show through to give the appearance of an older distressed piece. Don’t forget the edges and in between any openings. You don’t have to be too careful with this step because you can always add more paint or sand away any extra paint you don’t love. Allow to dry – should be fairly quick due to the fact that you aren’t covering it fully.


Step 6: STYLE your new DIY piece and be proud! You just saved money, your house looks great, and you deserve a glass of wine.
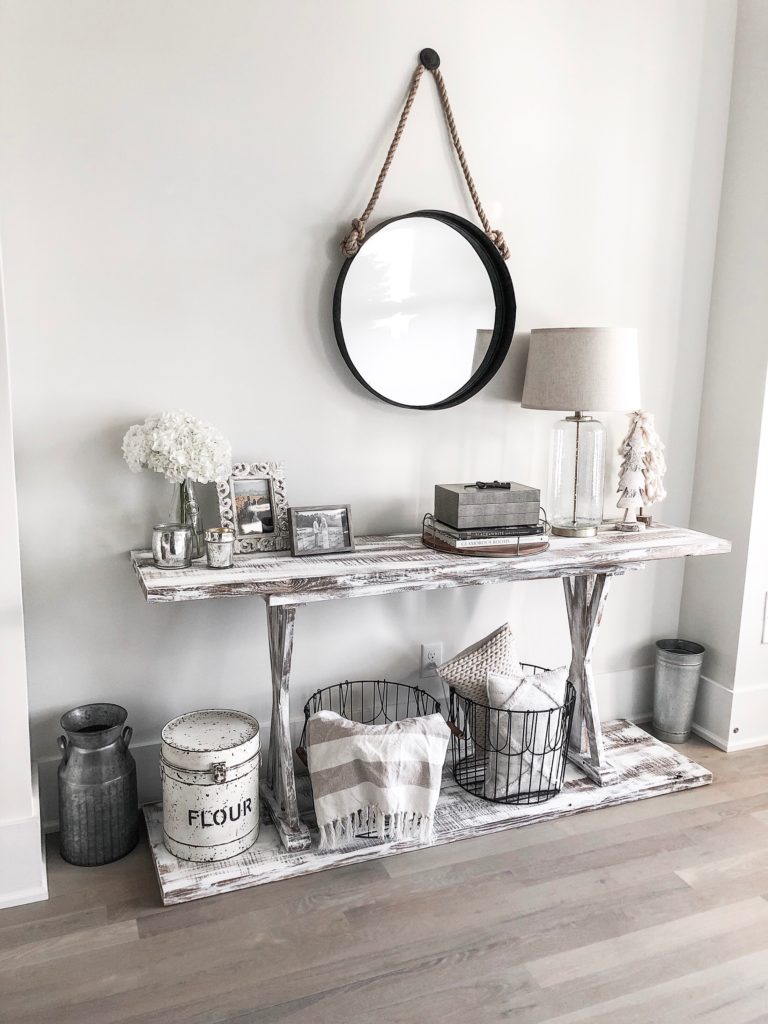
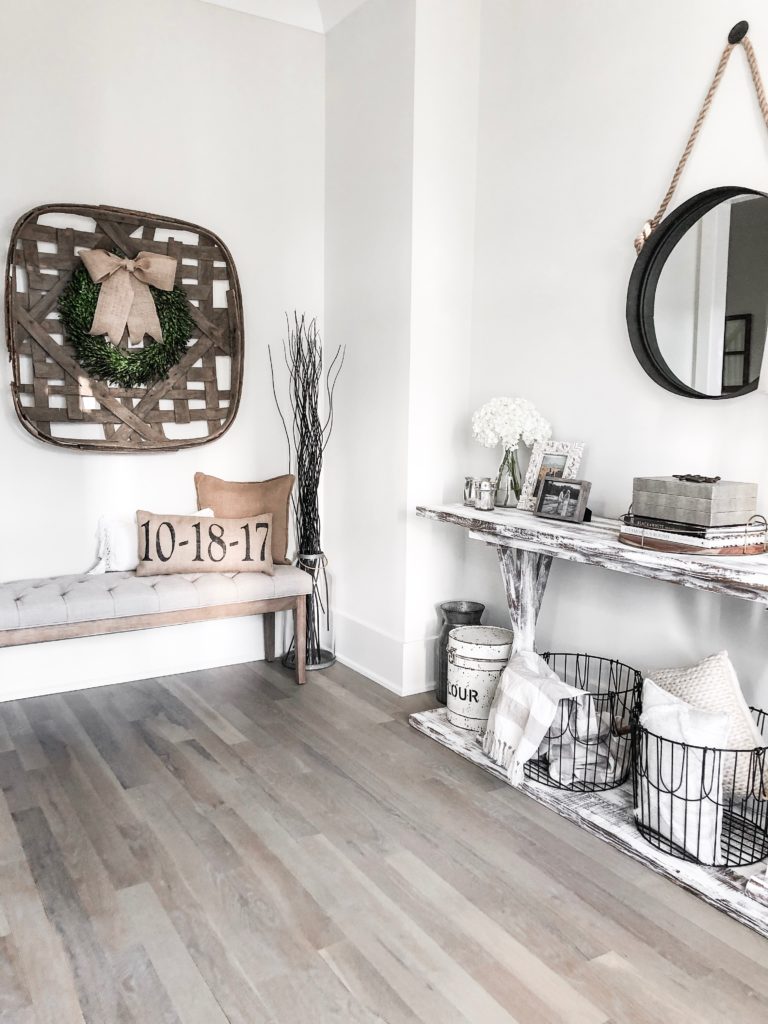
AFTER:

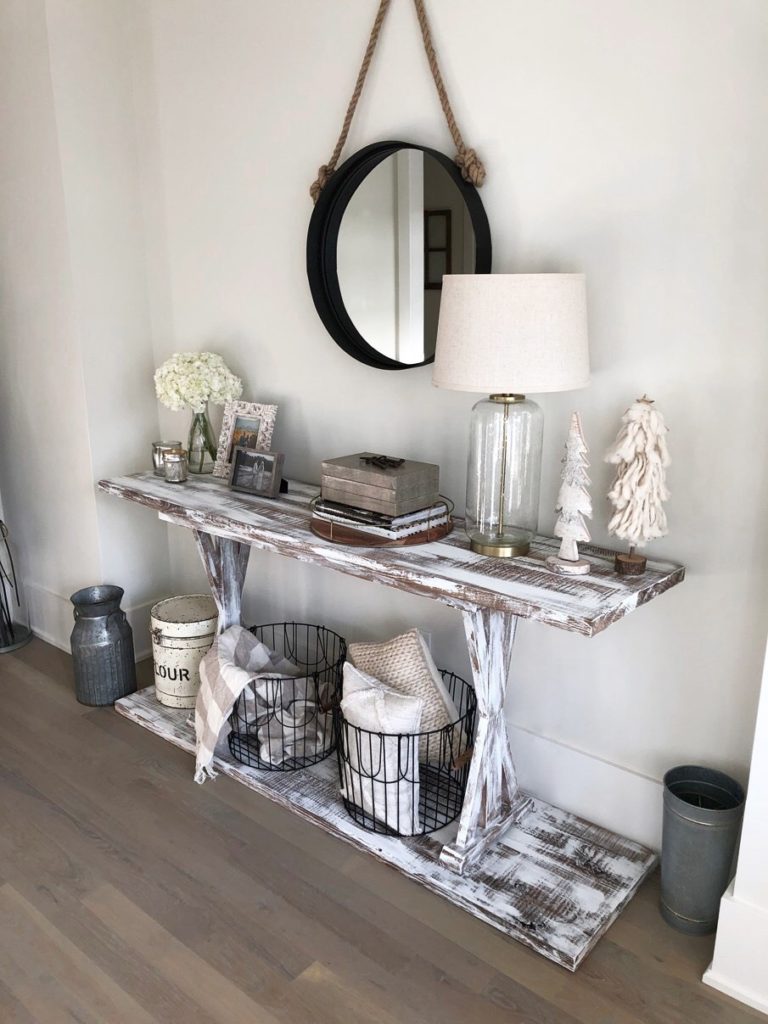
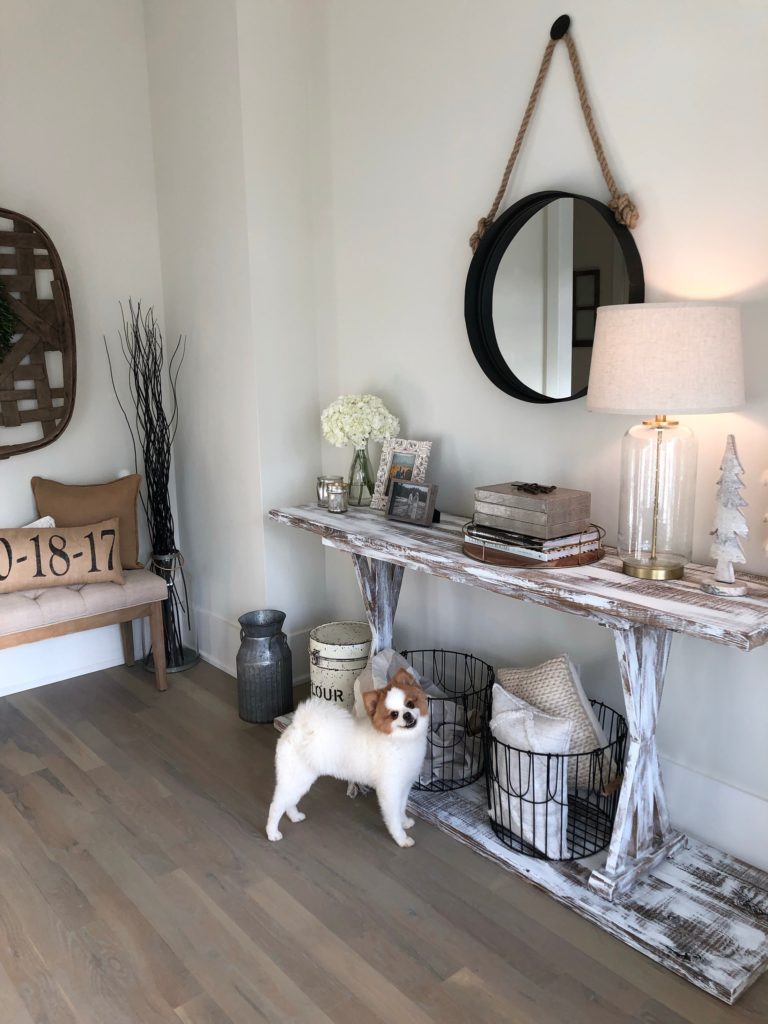
SHOP THE POST:
TOBACCO BASKET / ENTRYWAY TUFTED BENCH / WEDDING DATE PILLOW / FARMHOUSE BEADS / LAMP / FLOUR BARREL / MILK CAN / WIRE BASKETS (similar) / FARMHOUSE PILLOWS / BLACK + WHITE BOOK / LEOPARD PRINT BOOK / ROUND ROPE MIRROR / BOXWOOD WREATH / ROUND WOODEN TRAY / WOODEN TREES / TASSEL BLANKET

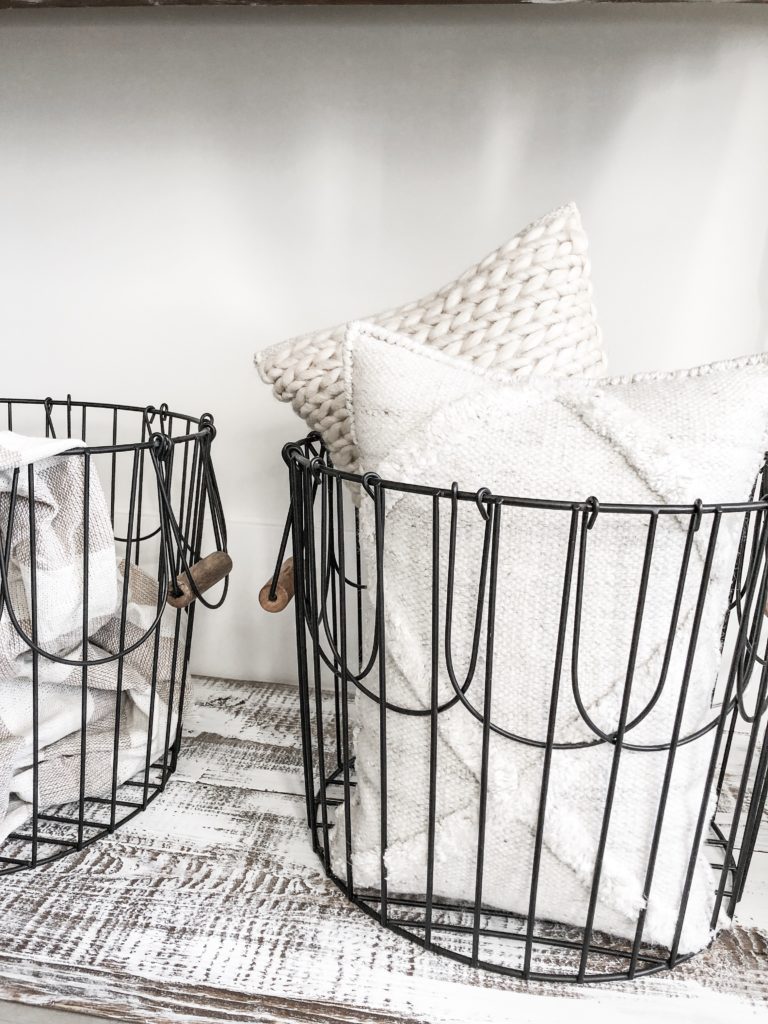
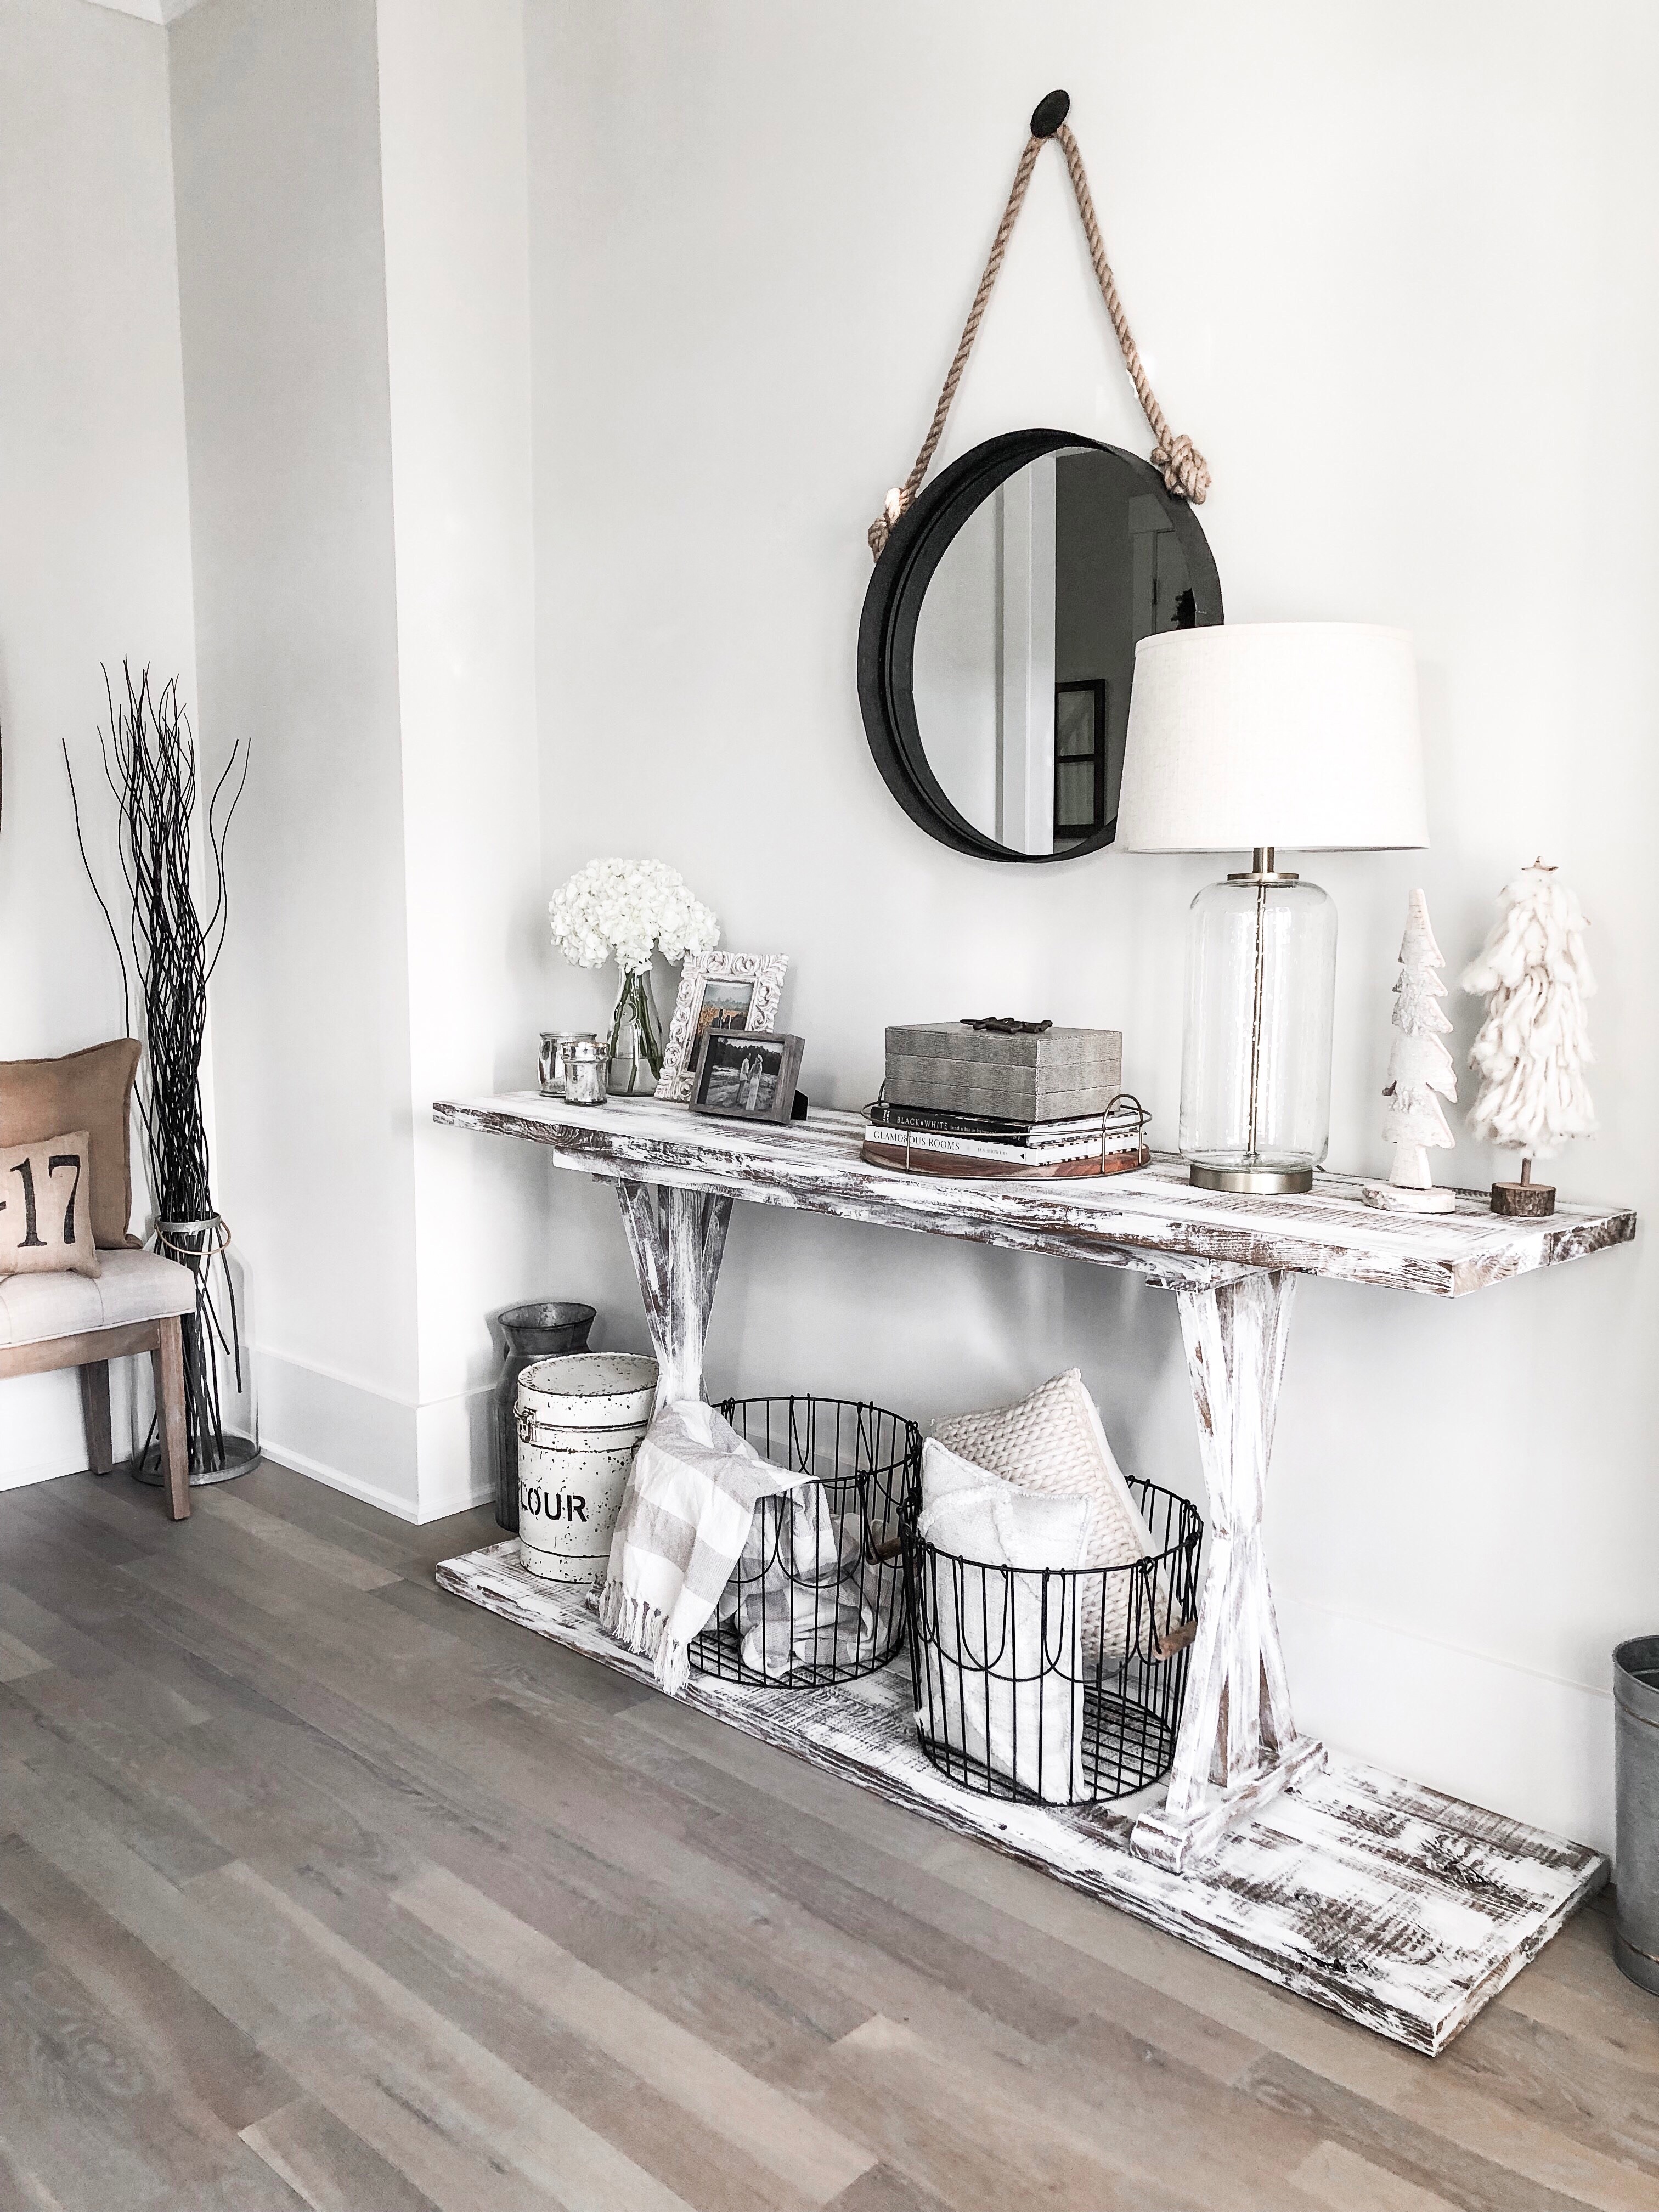
SHOP THE POST:
TOBACCO BASKET / ENTRYWAY TUFTED BENCH / WEDDING DATE PILLOW / FARMHOUSE BEADS / LAMP / FLOUR BARREL / MILK CAN / WIRE BASKETS (similar) / FARMHOUSE PILLOWS / BLACK + WHITE BOOK / LEOPARD PRINT BOOK / ROUND ROPE MIRROR / ROUND TRAY / WOODEN TREES / TASSEL BLANKET
EEK – you guys!! I’m SO excited about how it turned out! All I’m missing now is a runner. Our last rug fell victim to a puppy-related incident and, as a result, has since been retired. #RIP I have my eyes on this one from Amazon.
Got any of your own amazing DIY projects I need to see? Don’t hold out on me!

